When you hang artwork in a gallery, think of each frame as a piece of art. Make sure the design of each frame is consistent and cohesive. Space each frame two to three inches apart, keeping equal distances between them. Take a step back and look at the entire layout before deciding on the placement of each frame. Keeping everything in proportion can help you keep perspective. You can also invest in the right tools for the job.
Less is more
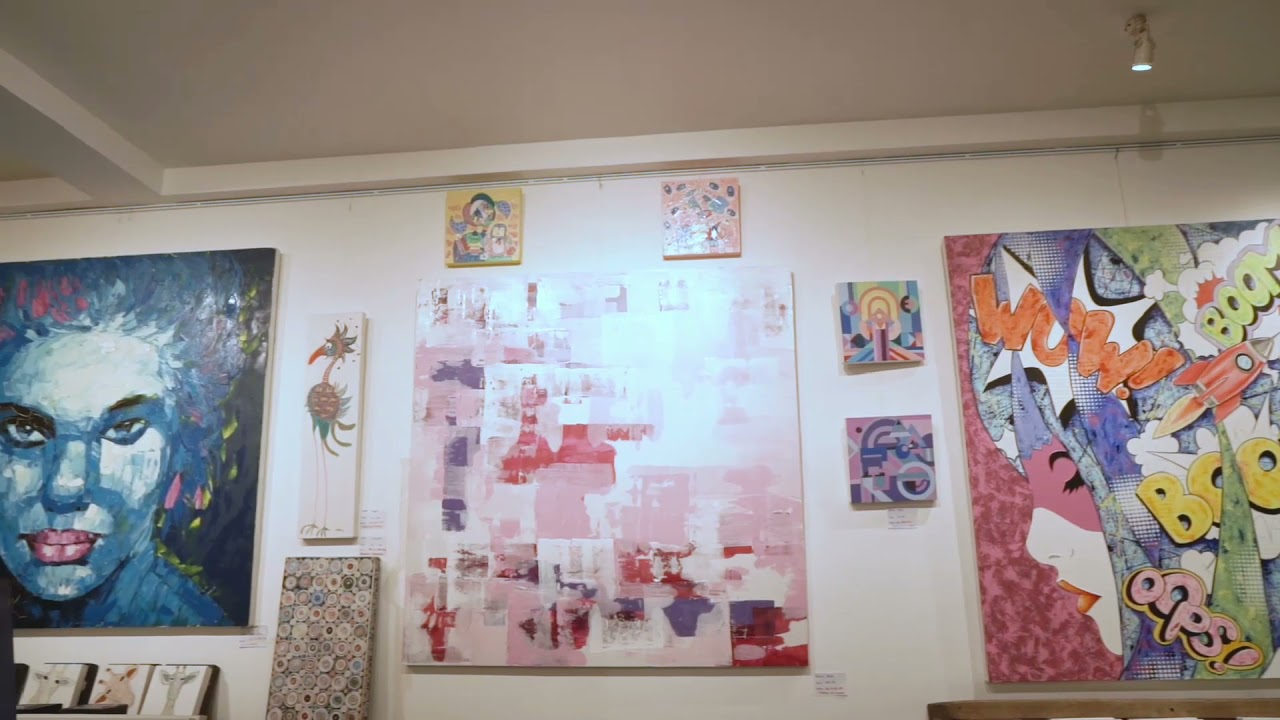
When hanging a group of pieces, make sure the gaps between pieces are at least 50 mm. If a single piece is over one metre, space it out by about three times that height. Taller pieces should be hung 400mm off the floor. Hang complementary pieces as close to each other as possible, but don’t space them too far apart. A standard spacing between two frames is between 50 and 70 mm.
Choosing a large piece is tricky. Hanging art six feet high is a common mistake. You should hang artwork at least two-thirds of the height of the ceiling or floor. Make sure to select a painting in a proportionate size for the wall. If you are hanging multiple pieces, hang the heavier ones in the lower left corner. Then, hang the lighter pieces in the upper right corner.
Whether hanging artwork on a large wall or creating a more eclectic composition, gallery walls are an excellent way to showcase your art collection. Remember that you can arrange your pieces in an eclectic arrangement or grid pattern. When hanging artwork on a large wall, keep in mind that smaller pieces can sometimes look cluttered. The smaller pieces will look better deployed in clusters. You can even use a gallery wall to frame furniture or a sofa!
Rather than framing artwork on the wall, use picture rails instead. Picture rails allow you to rotate your artwork without damaging the wall. Using picture rails will also allow you to group the pieces together to create a general display. Don’t be intimidated by the art collection. Study the different artists and familiarise yourself with their works. Then, choose the pieces that fit with them and the rest will fall into place.
Investing in the right tools
It’s worth spending a little money on tools and equipment that will make hanging your artwork easier and provide you with better results. Here are four of the most common tools you will need for hanging your artwork. Purchasing these tools will help you make your exhibition look as professional as possible. They can be found at any hardware store. Investing in the right hanging tools will also make your artwork look more professional.
Creating a gallery layout
You will need to prepare the wall you want to use as a gallery layout before hanging your pieces. You may need to repaint the wall or give it a quick touch-up. Make sure to remove any furniture that might be blocking the art on the wall. Trace the artworks you would like to hang on a piece of paper. Wrapping paper makes an excellent template. After cutting, name the pieces and add the title.
Try to find similar pieces of art. Choose pieces in similar styles or color palettes. Space out the pieces evenly. You can create a gallery wall by arranging them in a mini triptych or grid. If you want to mix and match different styles, you can use a combination of the two. This will make the wall look more dynamic. You can even rotate pieces of art so that each one shines and stands out.
Before you nail your pieces to the wall, carefully plan the layout. Place the largest piece off-center of the wall. Smaller pieces can be deployed around the large pieces for a gallery-style wall. If you want to avoid cluttering the room, you can hang small pieces along the walls. Depending on the size of your walls, you can choose to hang several pieces of art on the wall. You can also arrange them in a gallery-style layout, with a combination of horizontal and vertical pieces.
When hanging multiple pieces of art, it is important to remember to leave enough space between each one. When hanging one piece, leave about three to four inches between frames in a grid-like layout. If you want to display photos on a gallery wall, make sure they match in color palette. If possible, use black-and-white photographs to complement the color schemes of the other pieces. The same goes for other mediums.
Choosing a picture hanging system
When selecting the type of hanging system to use for your display, you can make the decision based on the size of your frames, the style of picture you have and how many you plan to hang. You can choose from a single-wire system or a combination of wires and hanging hooks. There are a few different styles to choose from, and each one has its own set of advantages and disadvantages. The system you choose should be strong enough to hold the weight of your frames.
For art displays, an integrated lighting system is a good idea, because it makes it easier to adjust and move the display. Halogen lighting systems are the traditional choice for galleries and museums, but LED bulbs are gaining popularity due to their reduced heat output, lower energy use and longer lifetime. If you’re a gallery owner, consider a system that includes integrated lighting to minimize the risk of damaging your artwork.
Choosing a picture hanging system is not as difficult as it might sound. You can opt for nails or adhesive hooks if you’re hanging a picture with a small frame. You can also opt to hang the picture without drilling any holes in the wall. For plaster walls, you can choose angled nails or screw-in hooks. It’s essential to consider the location of the picture before hanging it.
There are many benefits to using a picture hanging system in a gallery. Not only does it allow for flexible layout, but it also saves a lot of time and money in the long run. It’s also easy to adjust the height of pictures and group them in a perfect row. In a gallery, a system like this will save time and money. In addition, it will also help you to hang and arrange the artwork in a professional way.